
Practical Steps for Recording Choir Rehearsals at Church
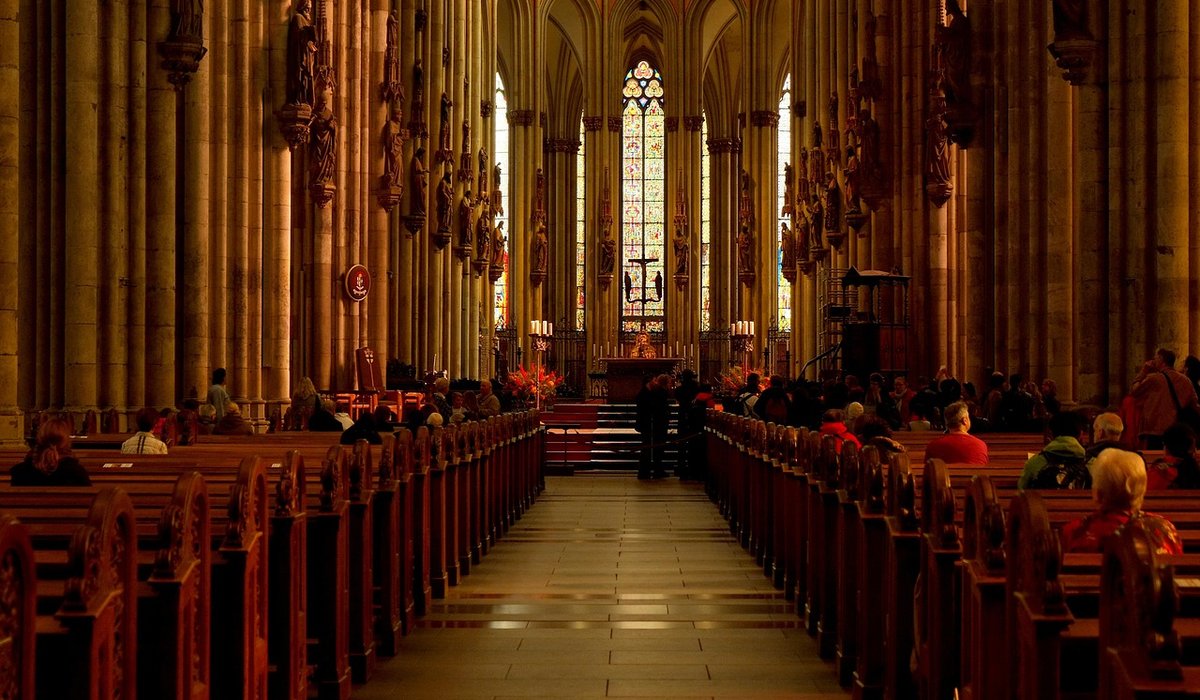
The Building Is Already Part of the Sound
Before you unpack a single microphone, spend five minutes simply listening to the room. A medieval nave, a Victorian chapel and a 1970s church hall will each shape a choir's sound in completely different ways, and your recording will inherit every one of those characteristics. Knowing what you are working with saves hours of frustration later.
Walk the space while the choir warms up. Clap once, sharply, and notice how long the sound takes to disappear. Stand where the conductor stands, then where the congregation sits, then under the gallery. You will almost certainly hear three different choirs.
- Reverberation: stone and glass give a long, generous tail that flatters unison singing but muddies close harmony and consonants.
- Background noise: heating pipes, old clock movements, traffic through leaded windows, and the hum of a fridge in the vestry kitchen all creep in.
- The tower: bell ringing practice often falls on the same evening as choir rehearsal. Check the rota before you book a session, and if the bells cannot be avoided, record them deliberately as a reference so you know what you are hearing later.
Choosing a Simple Microphone Setup
You do not need a studio's worth of equipment. Two small-diaphragm condenser microphones in a spaced pair, or a single stereo recorder on a stand, will capture a rehearsal beautifully if the placement is right. The aim is to record what the conductor hears, not what the back pew hears.
A reliable starting point: place the pair roughly 2 to 3 metres in front of the choir, at a height of about 2 to 2.5 metres, angled slightly downwards towards the singers. Space the microphones 1.5 to 2 metres apart, pointing outwards at perhaps 45 degrees so that each covers one half of the choir. This gives a broad, natural image with a sensible amount of the room's warmth.
If the choir is arranged in sections rather than a single arc, move the stand back a little and raise it. If the sopranos are overpowering everything, resist the urge to move the microphones closer to the altos — that simply creates a lopsided recording. Fix the balance in the room first, then record it.
Working With, Not Against, the Acoustic
Every church acoustic has a sweet spot: far enough back to gather the whole ensemble, close enough to keep diction intelligible. Finding it takes ten minutes of trial and error, and it is time well spent.
In a very live building, err on the side of closer placement. In a dry, carpeted modern church, you can afford more distance, because there is less reverberation to blur the detail. Where the choir sings under a tower arch or in a chancel with a lower ceiling, the sound can become boxy; try moving the stand into the nave itself and letting the building do the blending.
Watch out for hard, flat surfaces directly behind the microphones. A stone wall or a glass screen a metre away will reflect sound straight back into the capsules and give you a hollow, comb-filtered result. Sometimes simply turning the stand through ninety degrees solves the problem entirely.
Setting Levels and Surviving the Loud Bits
Rehearsals are unpredictable. A quiet run-through of a Lenten motet can be followed immediately by a full-throated Palm Sunday processional with the organ at full swell. Set your gain for the loudest passage you expect, not the quietest, and leave plenty of headroom — peaks sitting around minus twelve decibels on the meter is a comfortable target.
- Record in the highest quality your device offers; storage is cheap and rehearsal time is not.
- Use headphones to monitor, but keep one ear free so you can still hear the room and talk to the choir.
- If a soloist steps forward, do not chase them with the stand. Note the moment and ask them to repeat it afterwards if needed.
- Start recording a minute before you intend to, and stop a minute after. You will thank yourself.
A Short Checklist Before You Press Record
- Batteries fresh, or mains power secured and taped down.
- Memory card formatted and empty.
- Gain checked against the loudest section of the evening.
- Stand positioned, cables tidied, nothing underfoot near the singers.
- Heating and ventilation noise noted — ask for it to be switched off if it is intrusive, and be prepared to be told no.
- Time and date correct on the recorder, so files sort themselves sensibly.
Listening Back With the Choir
The recording is only useful if it changes something. Set aside fifteen minutes at the start of the next rehearsal and play back a single passage — not the whole evening. Ask the choir to listen for one thing at a time: blend first, then balance between sections, then diction. A recording reveals what nobody can hear from inside the sound, particularly the way consonants vanish in a long reverberation.
Be kind about what you play, and be specific about why you chose it. The best rehearsal recordings are not archives; they are tools. Handled with care, a simple pair of microphones on a single stand can become one of the most quietly useful members of your choir's weekly routine.

4 Comments